
Our North Point 310RLTS Remodel: Smart, Stylish, and Ready for the Road
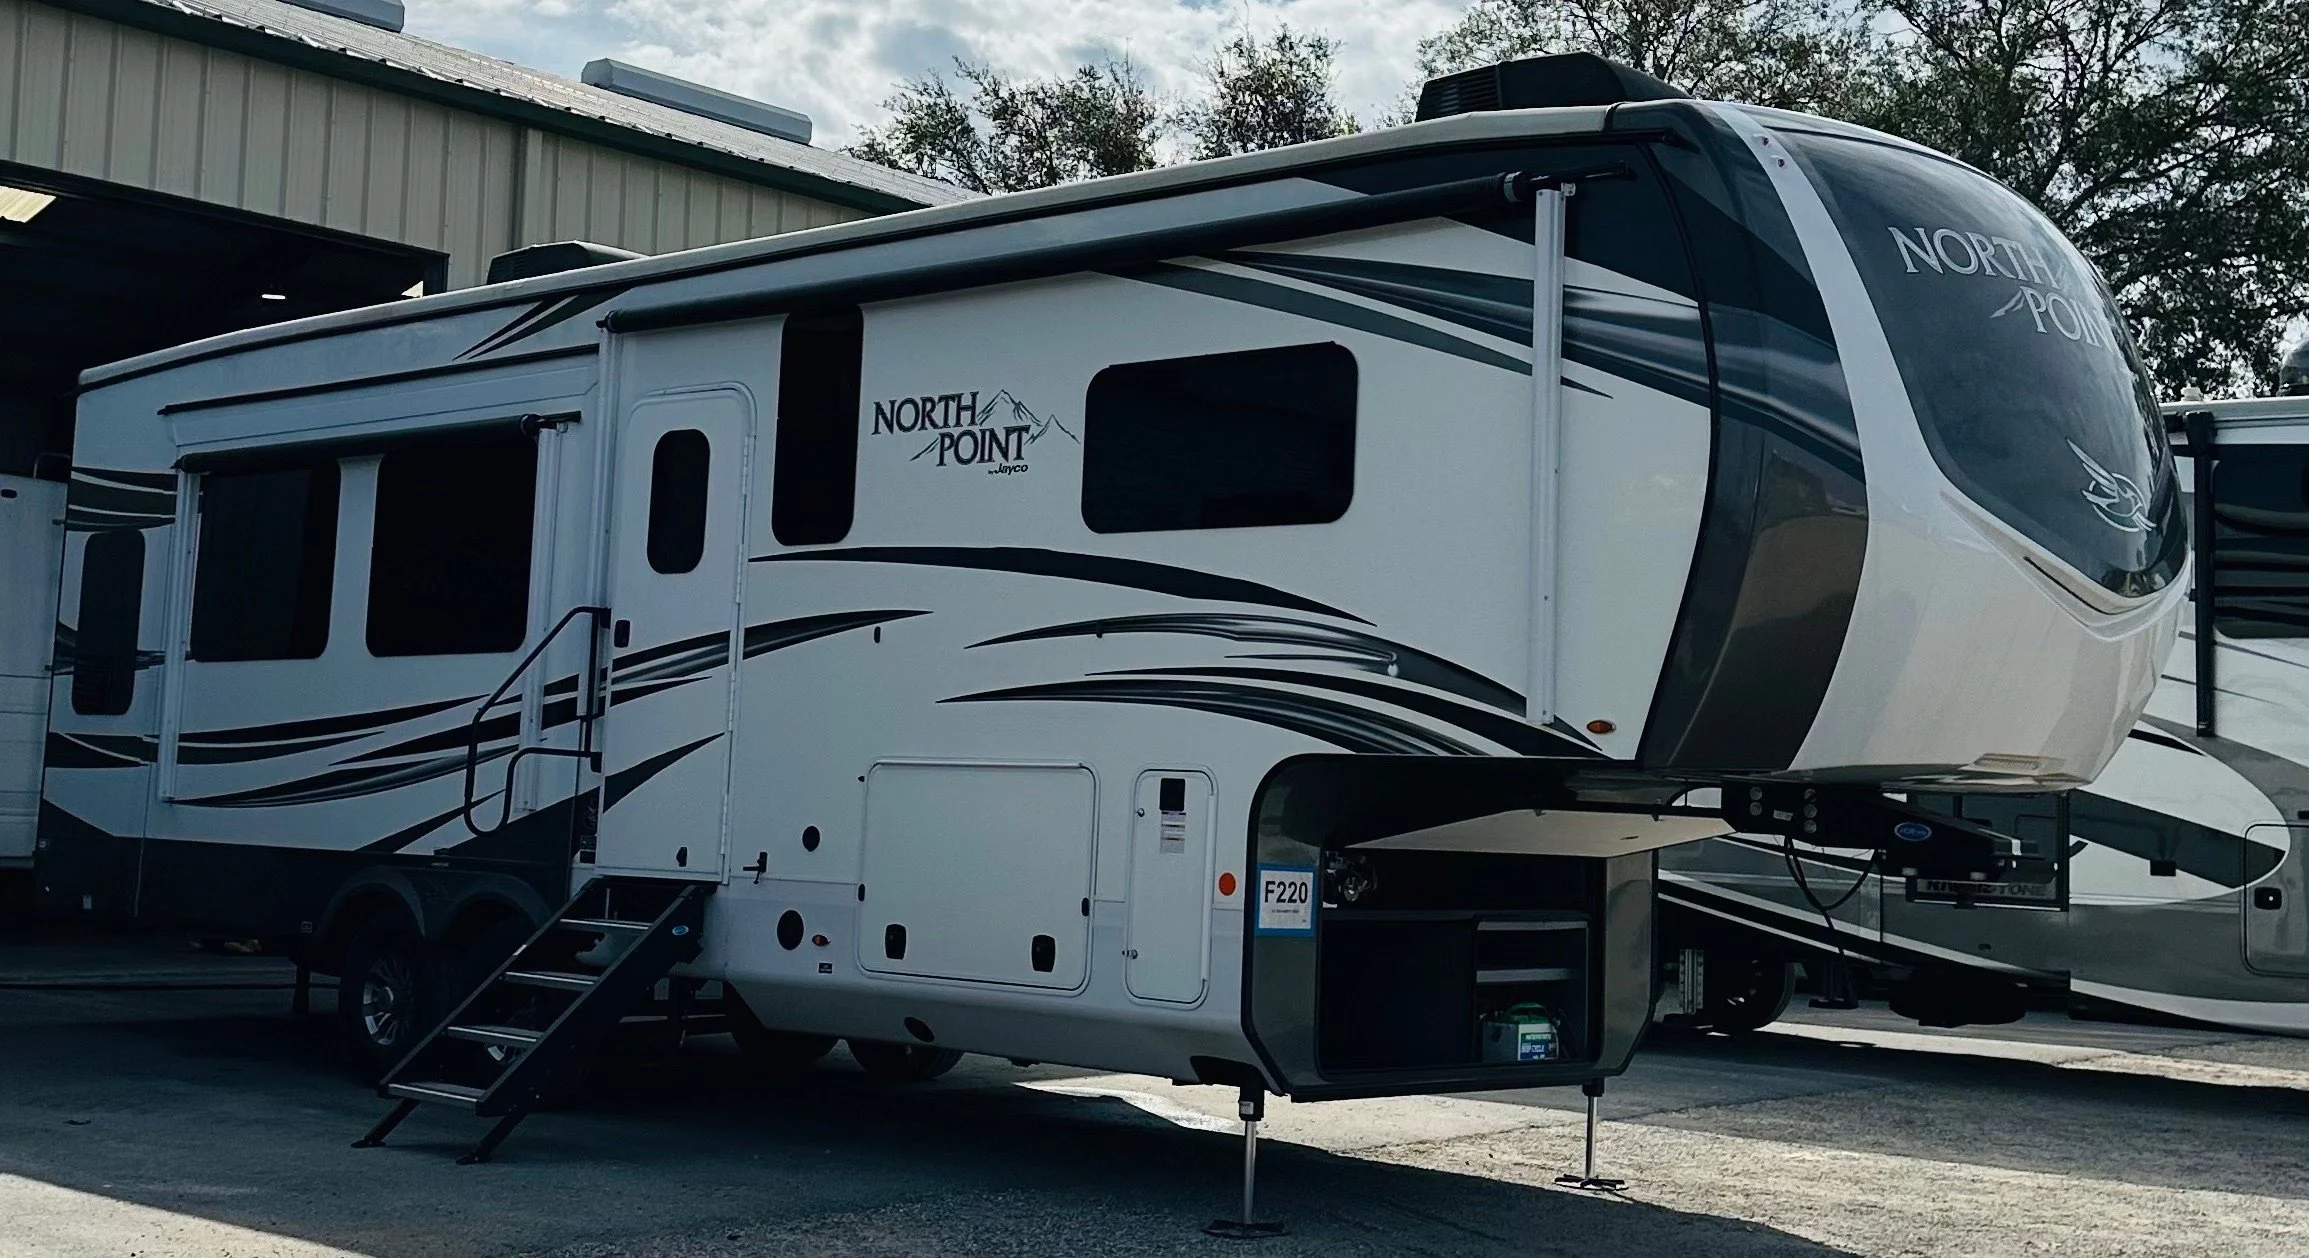
When we first stepped into our 2020 Jayco North Point 310RLTS, we saw the layout and knew it had potential—but it also felt dark, dated, and not us. We wanted a space that was brighter, smarter, and fully customized for the way we actually live, work, and relax on the road.
So, we rolled up our sleeves and tackled a full remodel—inside and out. Every upgrade, from fresh paint to high-tech integrations, was done with intention. Here’s the story of how we transformed our RV into a space we truly love calling home base.
Bedroom: A Dual-Purpose Retreat
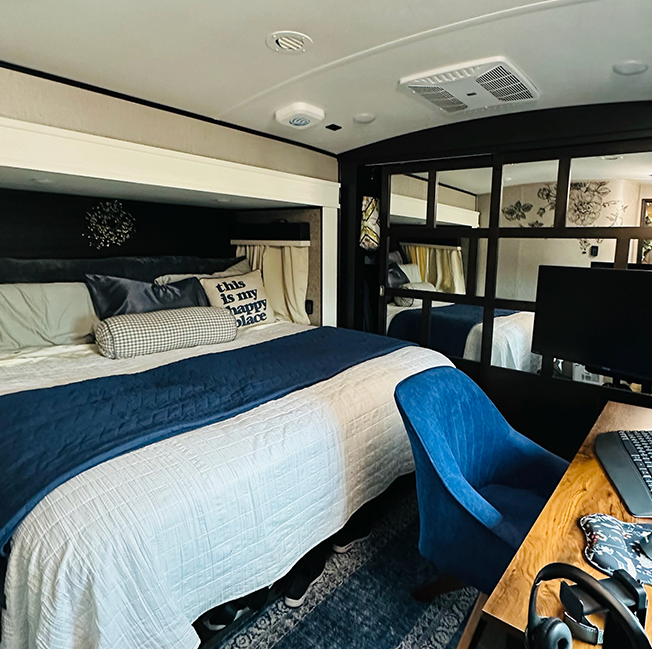
Our bedroom used to feel like just another stop in the RV—not terrible, but definitely lacking personality. We wanted it to be more: a quiet space to unwind, and a functional workspace when we’re on the clock.
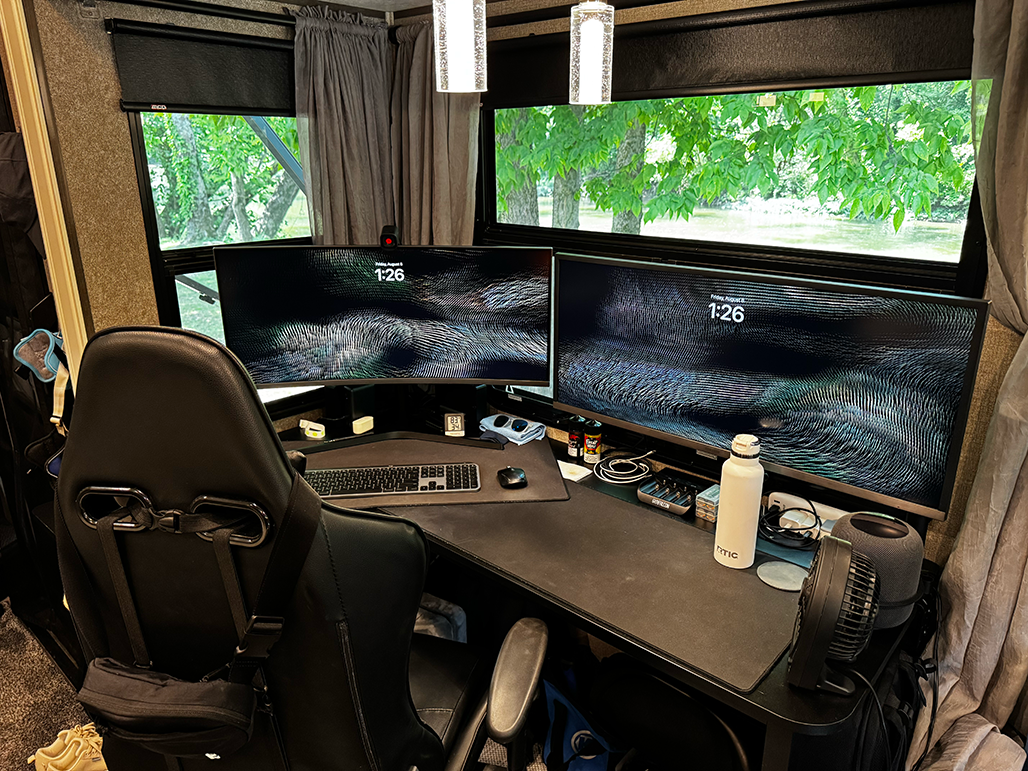
We started by painting the valances cream to match the kitchen, instantly softening the room and giving it a more cohesive feel. Then we made a bold move—ripped out the tiny dresser under the window and replaced it with a custom-built folding desk. It’s mounted with brackets so we can fold it down on travel days, making it as practical as it is sleek.
Now, it’s our favorite work zone. It fits two 27" monitors comfortably, and with the windows just behind, the natural light and views make even workdays feel peaceful.
We added thoughtful lighting, décor touches, a mattress topper for extra comfort, and updated the bedding to bring it all together. Oh, and because we love our tech—there’s an Apple TV paired with wall-mounted HomePod minis that make movie nights in bed an absolute treat.
Bathroom: Simple Changes, Big Difference

The bathroom was functional, but just felt a little too... factory. We wanted something that felt a bit more personal—and a lot more convenient.
We swapped out the old sink and faucet for something sleeker and more modern. The new shower sprayer has much better pressure (and makes a world of difference after a long hike). We added suction-mounted shelves and towel holders—easy to reposition, and nothing shakes loose on the road.
One of our favorite small upgrades? We added a shut-off valve to the toilet plumbing. It may not sound exciting, but now if something goes wrong, we can isolate just that section without cutting water to the whole RV. It's one of those little things that makes a big difference in RV life.
Kitchen: A Brighter, Smarter Cooking Space
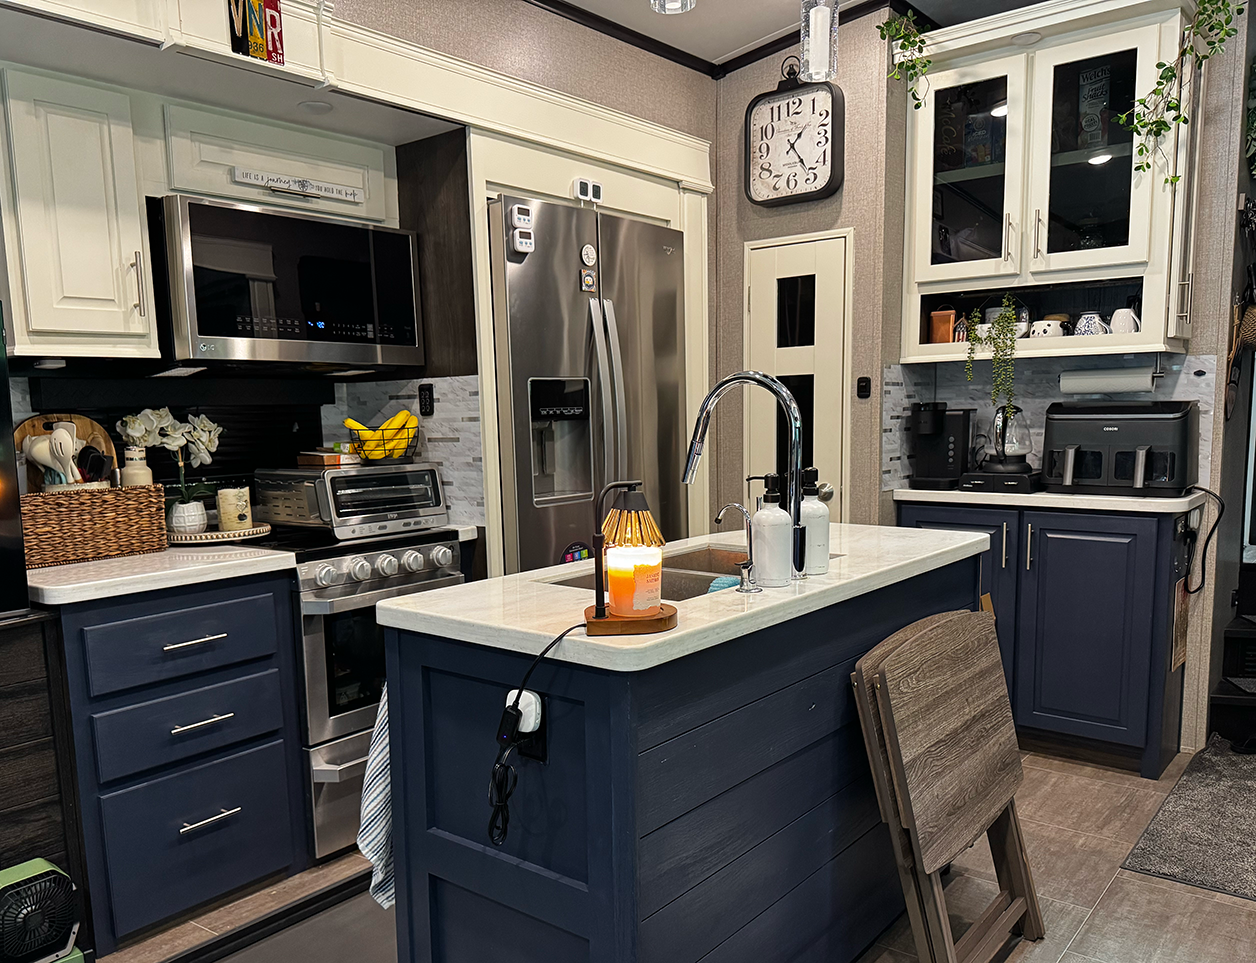
This was the heart of the remodel—and one of the most dramatic transformations.
The original kitchen was wall-to-wall dark wood, and honestly, it felt cramped. We painted the upper cabinets cream and the lower cabinets and island a deep navy blue, giving it that modern, two-tone farmhouse look. We also added a sleek backsplash tile behind the oven and nook area to bring in texture and brighten up the walls even more. Every cabinet latch got replaced with magnetic closures (goodbye, frustrating plastic clips).
We also upgraded the microwave to a sleeker, more efficient LG model and added a butcher block top to the island—it not only looks great but gives us more usable prep space. Above the kitchen nook, we installed a towel rack to keep things tidy and within reach.
And one of our smartest tweaks: under the sink, we added a water valve that reroutes site water directly to our fridge and drinking faucet. That means no more hauling around a 5-gallon water jug just to use the ice maker or filtered tap. It’s streamlined, clean, and so much more convenient.
Dining Area: From Meals to Meetings
We don’t always eat at a traditional table—and we do work remotely often—so the dinette just wasn’t serving us.
We removed it completely and turned the space into our second workstation. Now, we each have our own dedicated work area, making it easier to stay productive without feeling cramped. It’s a perfect example of designing your RV to fit your lifestyle, not just how the manufacturer envisioned it.
Living Room: Comfort Meets Style

The living room saw one of the biggest personality shifts. The original recliners and couch? Gone. In their place, we brought in a blue loveseat, a matching couch, and storage ottomans that double as seating and secret compartments for gear, blankets, or even snacks (don’t judge).
The TV got upgraded too—better picture, better sound—and we installed a wall-mounted bracket so we can pull it out for closer viewing. It’s one of those small comforts that makes a big impact, especially when you just want to relax and stream something good.
We also added another Apple TV with a soundbar and subwoofer, turning the living room into a proper entertainment space.
To finish the space, we painted the valances cream like the bedroom and kitchen, removed the smaller factory window valances, and added sheer gray curtains over blackout shades. It’s clean, cozy, and looks more like a studio apartment than an RV.
Smart RV Tech: Behind the Scenes, Always Working

This might be one of the parts we’re proudest of. Our RV isn’t just stylish—it’s smart.
We mounted Starlink, a cellular antenna, and an over-the-air TV antenna on the roof, all running into a Peplink router. That gives us multiple internet options wherever we are—and redundancy when one goes down. We also hardwired Cat7 ethernet throughout the rig to make sure video calls and streaming don’t stutter.
Inside, we run both Homebridge and Home Assistant, letting us control lights, climate, and devices right from our phones or Apple HomeKit.
Security and monitoring are handled by a full Ring Alarm system with cameras, sensors (doors, water, and CO2), and alerts. We even added Govee temperature sensors in the fridge and freezer, and a Necto monitor that alerts us if we lose power or temps get too high—super handy if we’re out exploring for the day.
And of course, Jayco’s BMPRO system is still onboard, giving us visibility into tanks, lights, and more when we’re away.
Outside Upgrades: Clean Water, Safe Power, and Smooth Stays

Just because the outside looks the same doesn’t mean we left it alone!
We installed a Hughes Power WatchDog 50A surge protector with Wi-Fi and Bluetooth for safe, monitored power.
Built a four-stage filtration system that filters water down to 0.5 microns, paired with a portable softener.
Added a mineral water additive system under the kitchen sink so our filtered water tastes better and makes better ice.
Use SnapPads and a MORryde I-beam stabilizer to reduce sway and keep things solid.
At night, we light the area with a blue LED rope light around our campsite—functional and a bit fun.
Our Ring Pathway Lights add motion-activated lighting for safe footing after dark.
Final Thoughts
This remodel wasn’t just a makeover—it was a reinvention. We took a solid foundation and made it brighter, smarter, more comfortable, and uniquely ours. It’s now a space that supports everything we do, whether that’s working from the road, exploring new places, or simply watching a movie after dinner.
If there’s a specific part of our setup or remodel you’re curious about—whether it’s how we built the folding desk, installed the water filtration system, or set up our smart home tech—let us know! We’re happy to dive deeper and write a dedicated blog post on any of the projects we tackled.
We’ll also be sharing more in-depth posts soon, including breakdowns of our smart RV tech, work-from-the-road setup, and custom storage solutions—so stay tuned!
Be sure to check out our video on YouTube or IG or TikTok!
We hope our remodel gives you a little inspiration or a few ideas for your own RV life. And if you have questions or want to know more about any specific upgrade, feel free to reach out—we love connecting with fellow travelers.
Links to some of the products that we used for this remodel are below.
This post contains affiliate links. If you use these links to buy something, we may earn a commission at no extra cost to you.
As an Amazon Associate I earn from qualifying purchases.
Bedroom
Headboard Wedge Pillow: https://amzn.to/3HxEL7u
Ultra Soft Mattress Topper: https://amzn.to/4lpwEI4
Computer Desk: https://amzn.to/4lkDyy9
Computer Desk Front Legs: https://amzn.to/3Jdz6E3
Computer Desk Wall Folding Brackets: https://amzn.to/45Px5qs
Bathroom
White Vessel Sink: https://amzn.to/45OU9FR
VOTON Vessel Sink Faucet Chrome: https://amzn.to/47rSZBk
High Pressure Shower Head with Pause Button: https://amzn.to/4fAgqKR
Adhesive Shower Caddy: https://amzn.to/3J8XpDn
Kitchen
Back splash: https://amzn.to/4fAiZN3
Tile cutter: https://amzn.to/4fAiWAN
Butcher Block: https://amzn.to/4oBTxuz
Folding Brackets: https://amzn.to/4oBgSwx
Living Room
LINSY HOME Modular Sectional Sofa: https://amzn.to/4fxEjCO
Sofa Cover: https://amzn.to/4ozEvWj
Technology
Hughes Power Watchdog Smart Surge Protector + EPO: https://amzn.to/47u975n
Necto Cellular Temperature and Power Monitor: https://amzn.to/41Iumwy
RVLOCK V4 RV Front Door Lock: https://amzn.to/4mGYbWo
LogicBlue LevelMatePro+: https://amzn.to/41CpOrz
Ring Alarm: https://amzn.to/4luNzJn
Ring Alarm Flood & Freeze Sensor: https://amzn.to/4mDsaOX
Ring Alarm Smoke & CO Listener: https://amzn.to/3HoqbiI
Outside
RV Skirt for 5th Wheel: https://amzn.to/4mzXL46
Bike Rack: https://amzn.to/3HdzJNw
360 LED Rope Light, 50ft Waterproof: https://amzn.to/45wjTW5
Water/Waste
Water System
Water Filtration
Housing
SimPure Whole House Water Filter Housing x 4: https://amzn.to/4oFwiju
Brass Pipe Fitting x 2: https://amzn.to/3HAcFsj
Hose Quick Connect: https://amzn.to/4oxIiDo
Water Hose: https://amzn.to/46R73nR
Filters:
20 Micron: https://amzn.to/45sTFE4
5 Micron: https://amzn.to/47uBPTI
1 Micron: https://amzn.to/4mIr050
0.5 Micron: https://amzn.to/4lqampG
Water Softener
On The Go Portable Water Softener: https://amzn.to/4mHQ8J5
Camco Rhino Blaster Pro: https://amzn.to/4mfG0aD
RV Waste Hose Carrier: https://amzn.to/415Nuo3
Other
Front Door Screen Door Grille: https://amzn.to/413iW6p
Front Door Screen: https://amzn.to/4m84ouG
hOmeLabs Dehumidifier: https://amzn.to/45P5Zje